I started this baby blender build before the v2 came out so I decided to build this plane for my step-dad. I am going to end up building a second baby blender using the vs and making some tweaks to it to come up with a design a little bit different. Since I already had this one in the works I figured I would build it and try a few things to get more practice on my next build and also to build a good looking plane that my step-dad would appreciate.
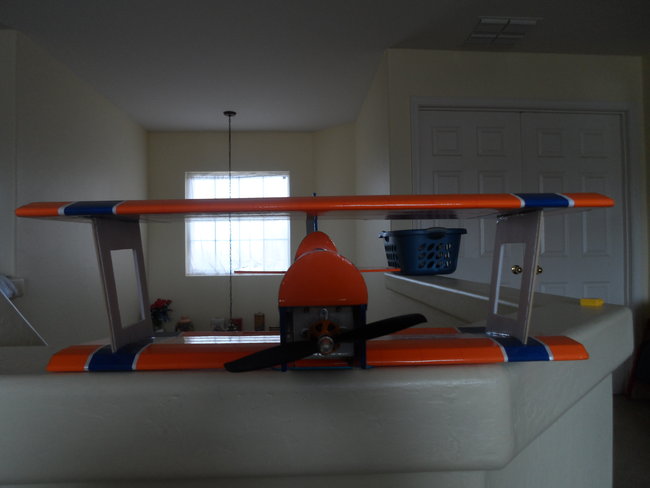
I used a color packing tape to cover this plane. The blue i used wasnt quite dark enough for what I wanted so I ended up using black underneath it. Don't really recomend doing that because for 1 it adds more weight and 2 it was really tough to get the air bubbles out between the layers, and they were noticable. The tape sticks quite good to the foam and doesnt show bubbles very much.
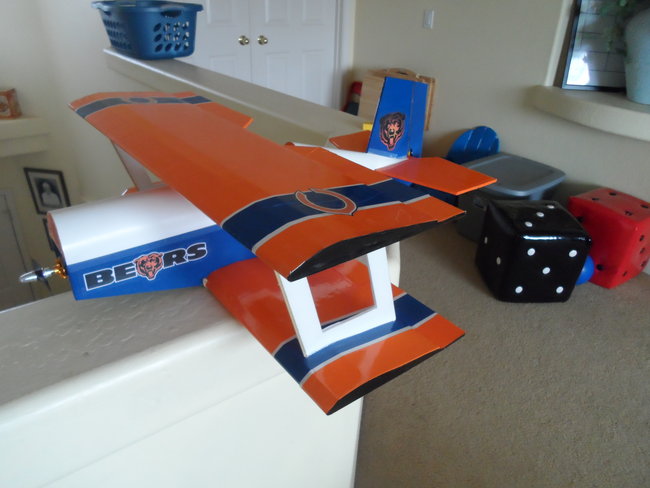
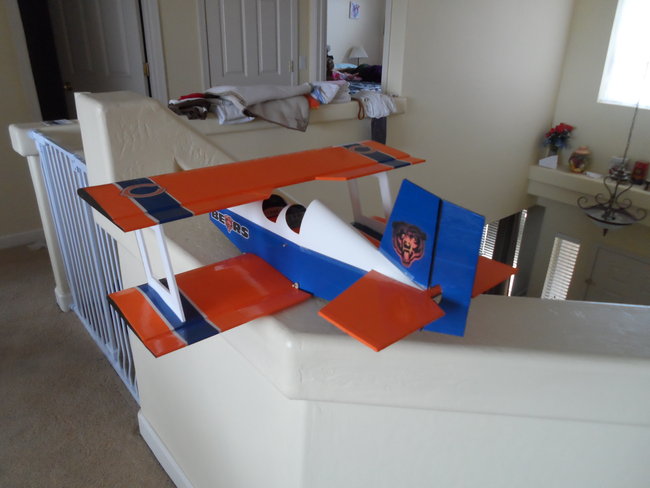
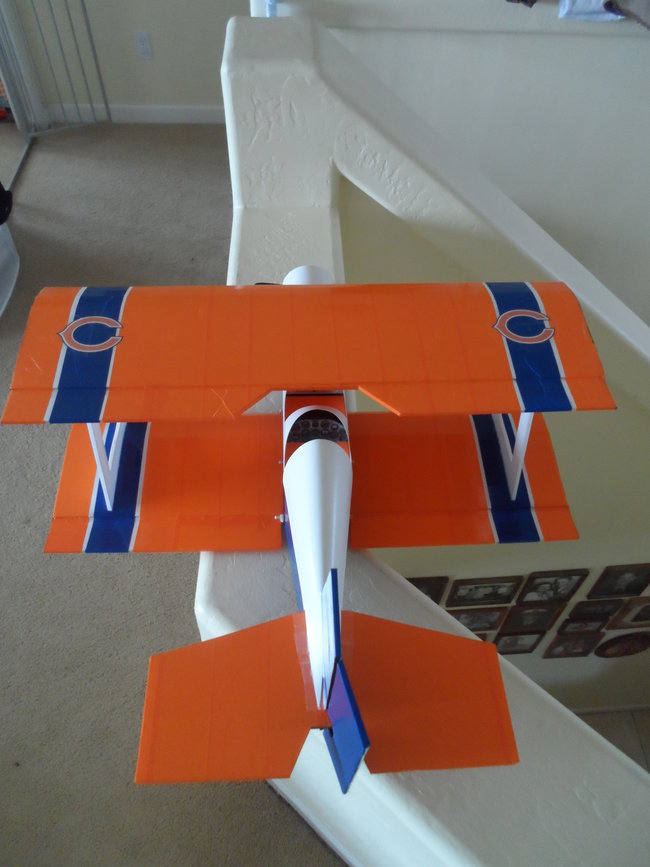
I made my own decals using pictures I found from the internet and printed them from home. I sprayed some glue on the back side of the paper then covered it in clear packing tape. I ended up using microsoft word to scale them to the sizes I wanted since I dont have printing software and it made it easy to get the right size since it has the measurement at the top of the page.
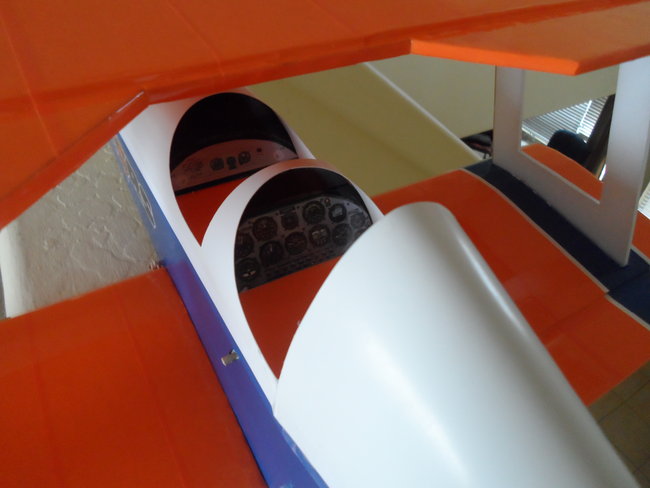
I added instrument clusters to the cockpit and seatbacks as well which you can't really see to well. Gave it a nice look without adding to much weight. The instrument clusters I put onto a piece of foam that I beveled and rounded to fit underneath nicely.
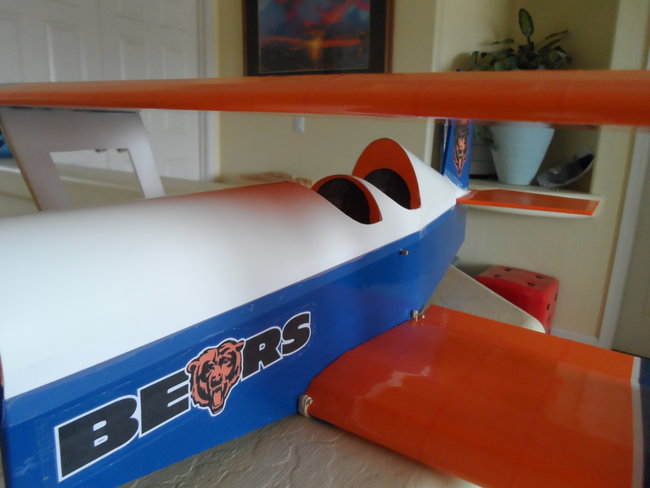
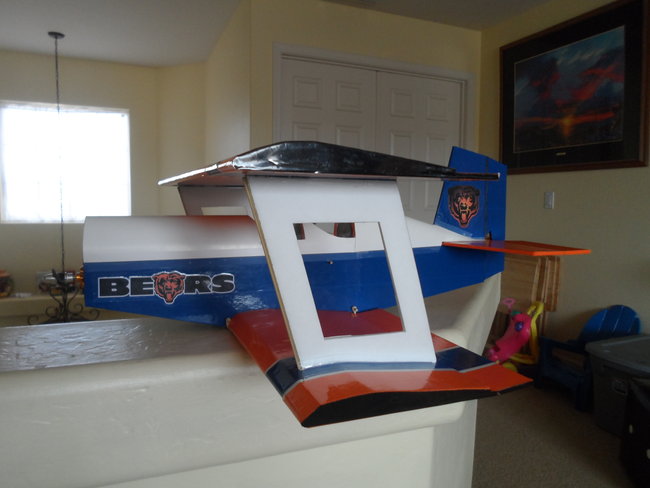
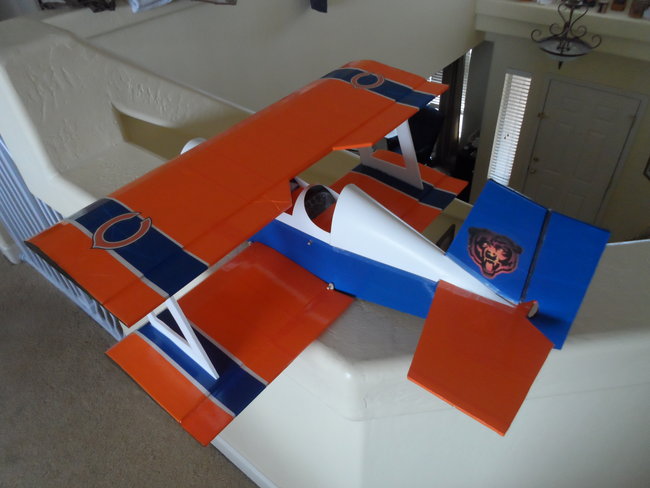
If anyone has any questions on my build or sugestions for my next build, leave me a comment and let me know what you think. Hope you all enjoy the plane and i will post my next build when I get it finished.


Log In to reply
In your cockpit close-ups, I do not see the servos for the rudder and elevator. Did you put a second floor over the servos to hide them or position the servos in another location?
Log In to reply
Log In to reply
Log In to reply
Log In to reply
Log In to reply
Log In to reply
Log In to reply
Log In to reply
Log In to reply