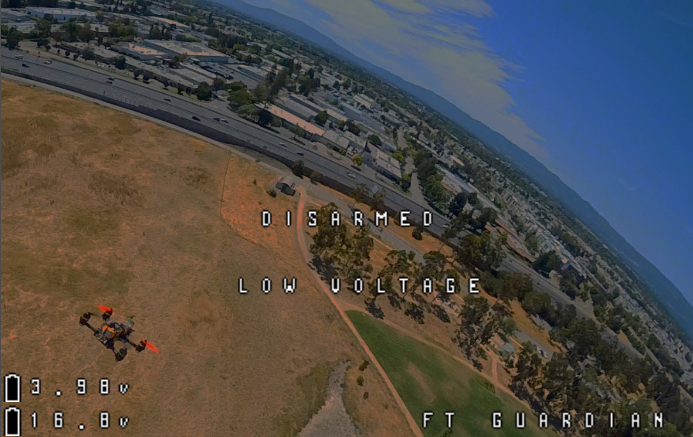
Hey folks, this is a simple tutorial for installing the FT AIO FPV Camera onto the Guardian Gremlin v3. This allows you to use the OSD feature in Betaflight to overlay some aircraft information in the goggles.
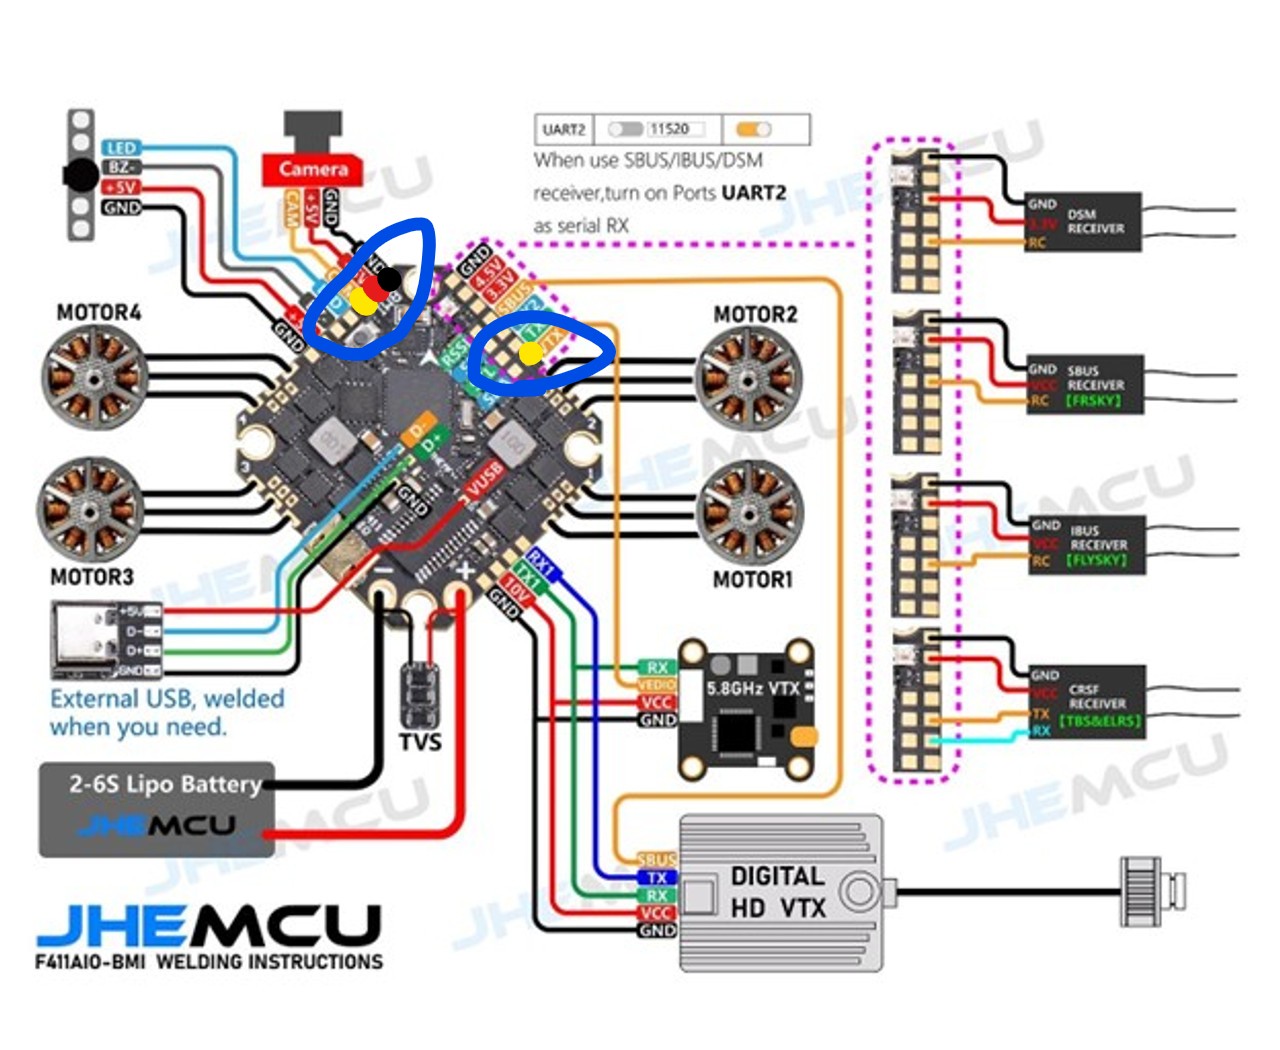
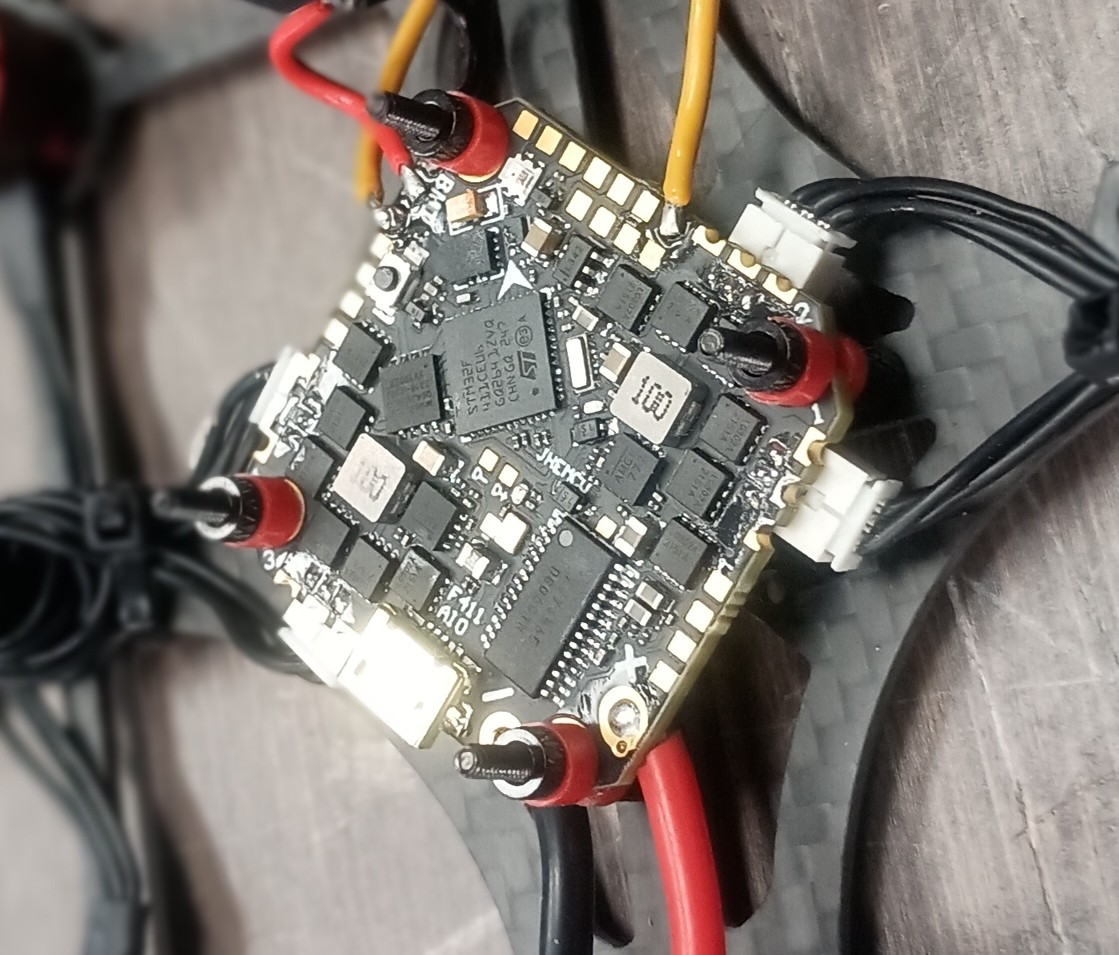
This tutorial involves soldering so if you're not interested in that, head on our now. Let's take a look at the diagram of the GHF411 Board we're using and notice the solder pads I've highlighted. You can go ahead and pre-tin those pads so we can get started.
The first thing you'll need to do is to get to the yellow wire on the FT AIO FPV Camera and cut it roughly in the middle. That'll turn one wire connecting the camera to the VTX, into one video wire from the camera and another video wire into the VTX. Then you'll need to extend these wires by soldering on a couple of short lengths of wire and covering it with some heat shrink tubing.
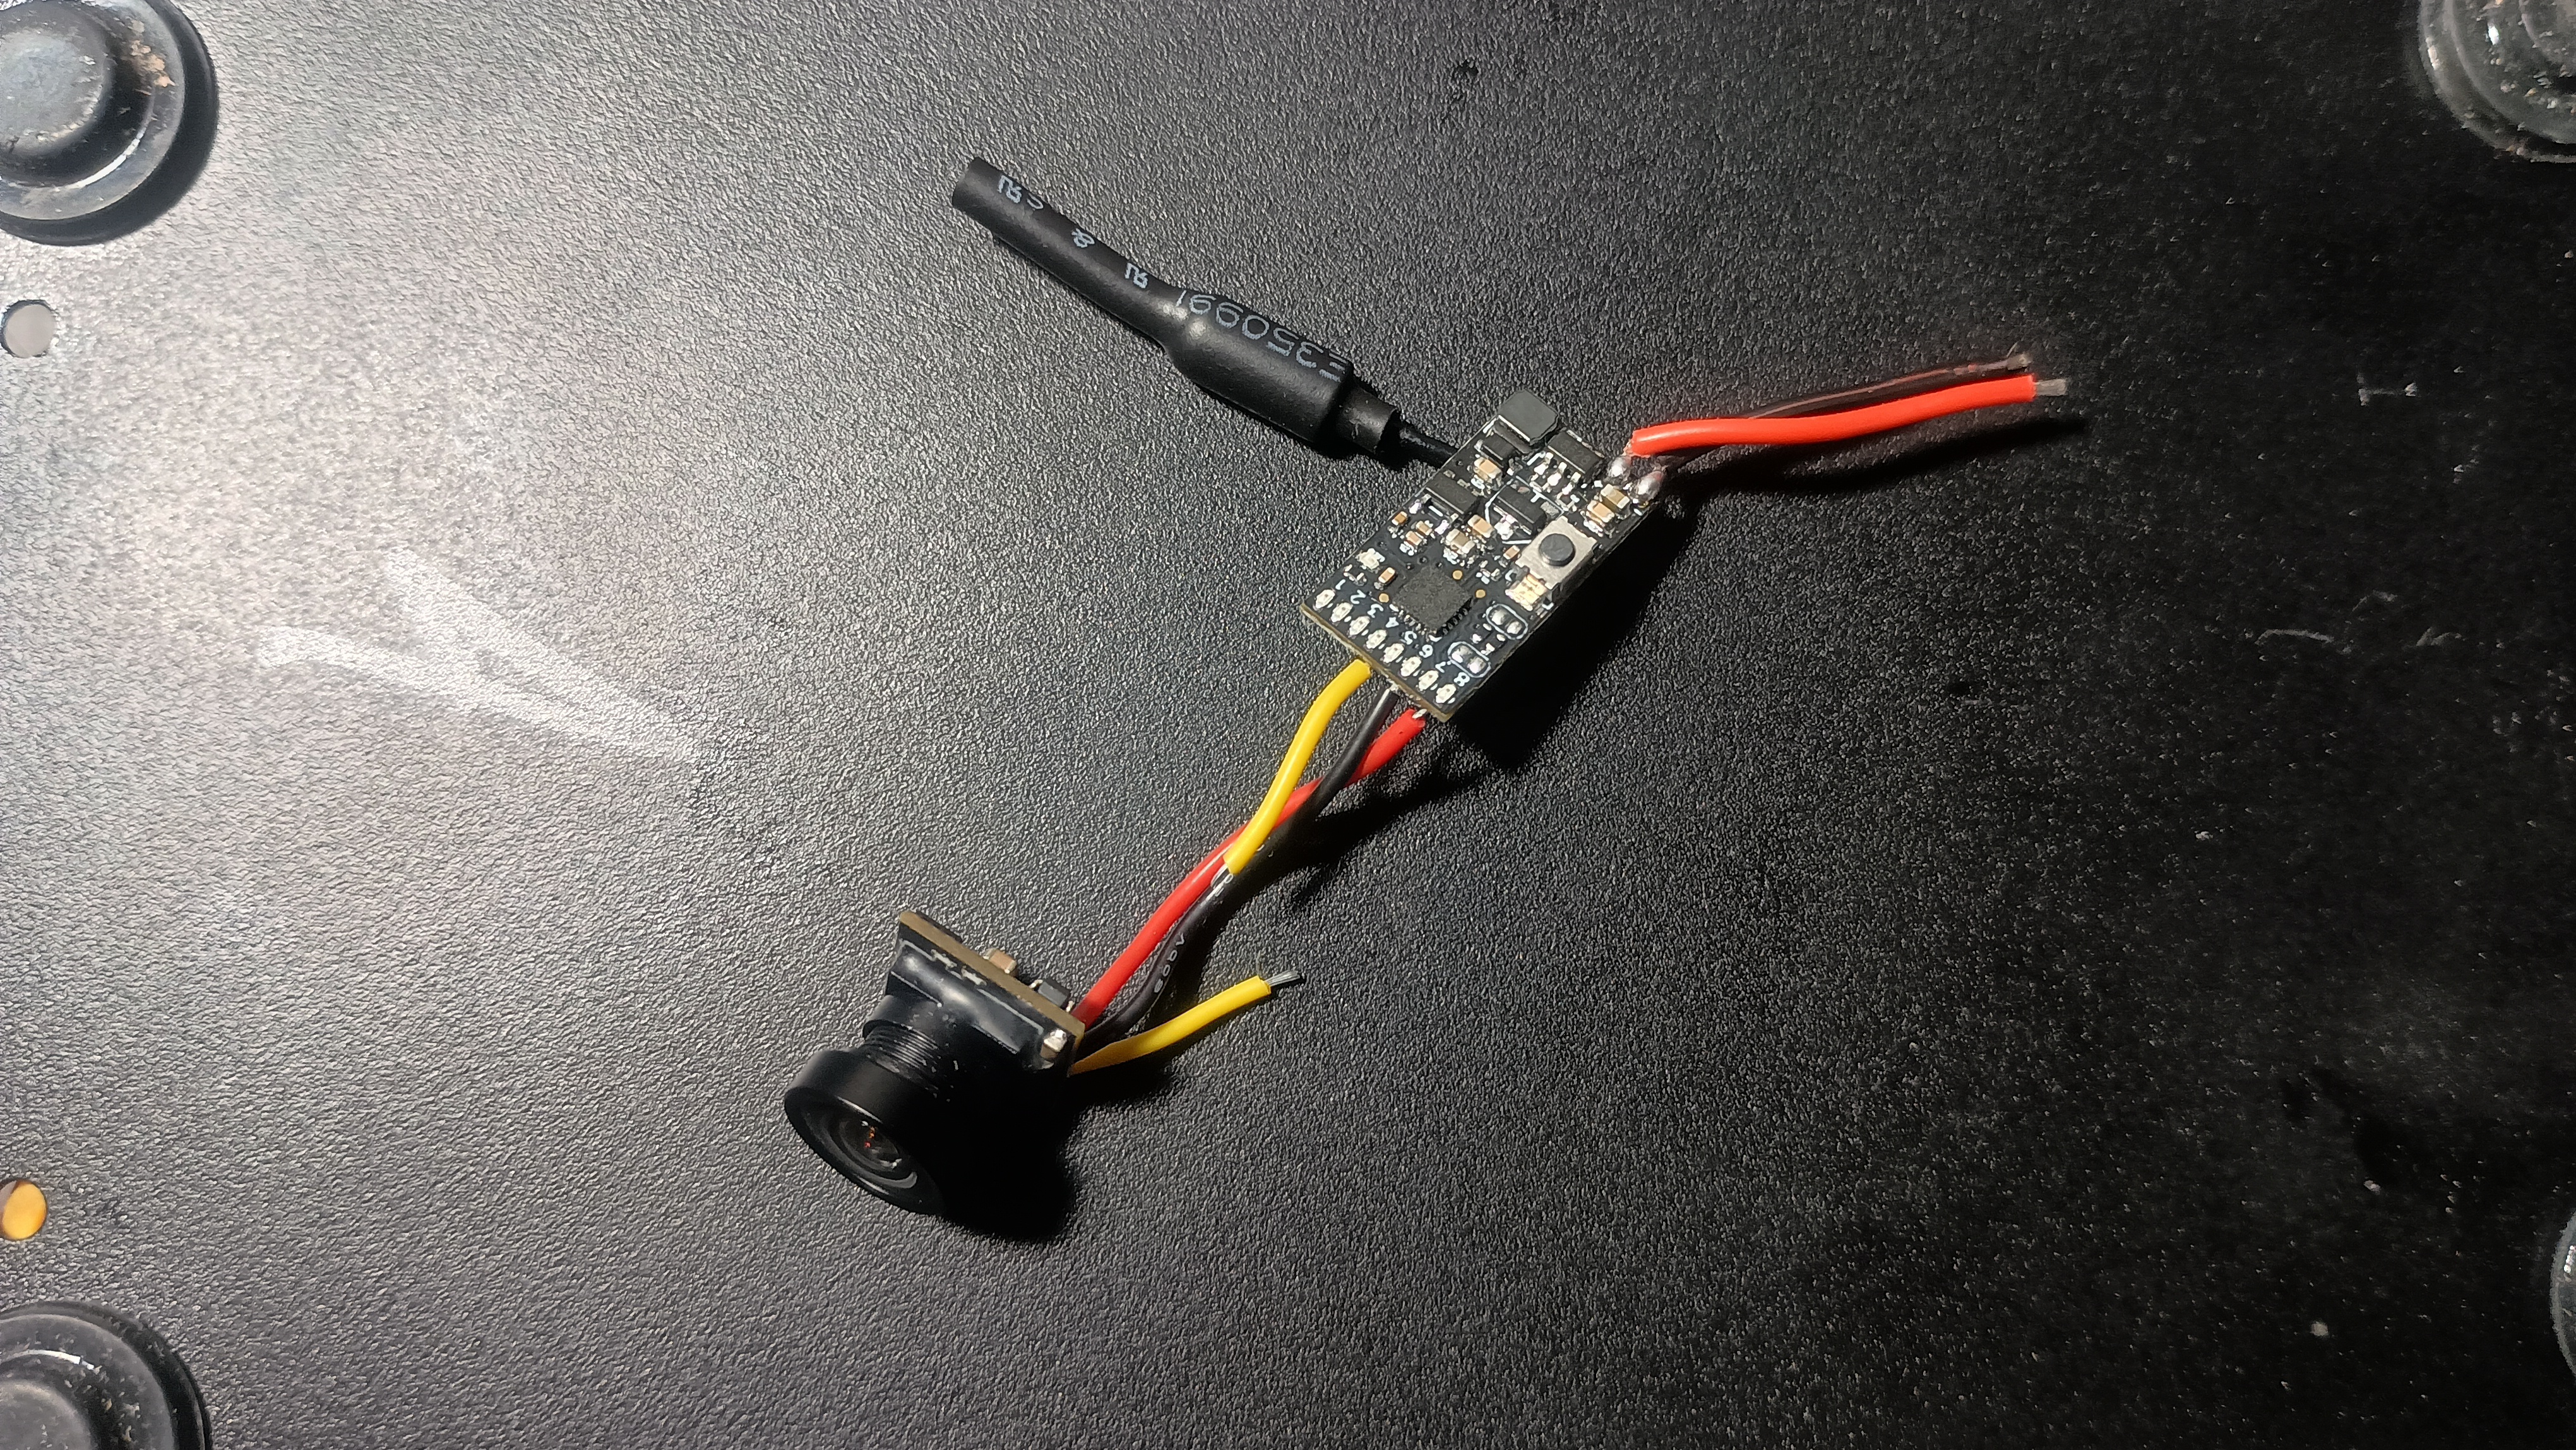
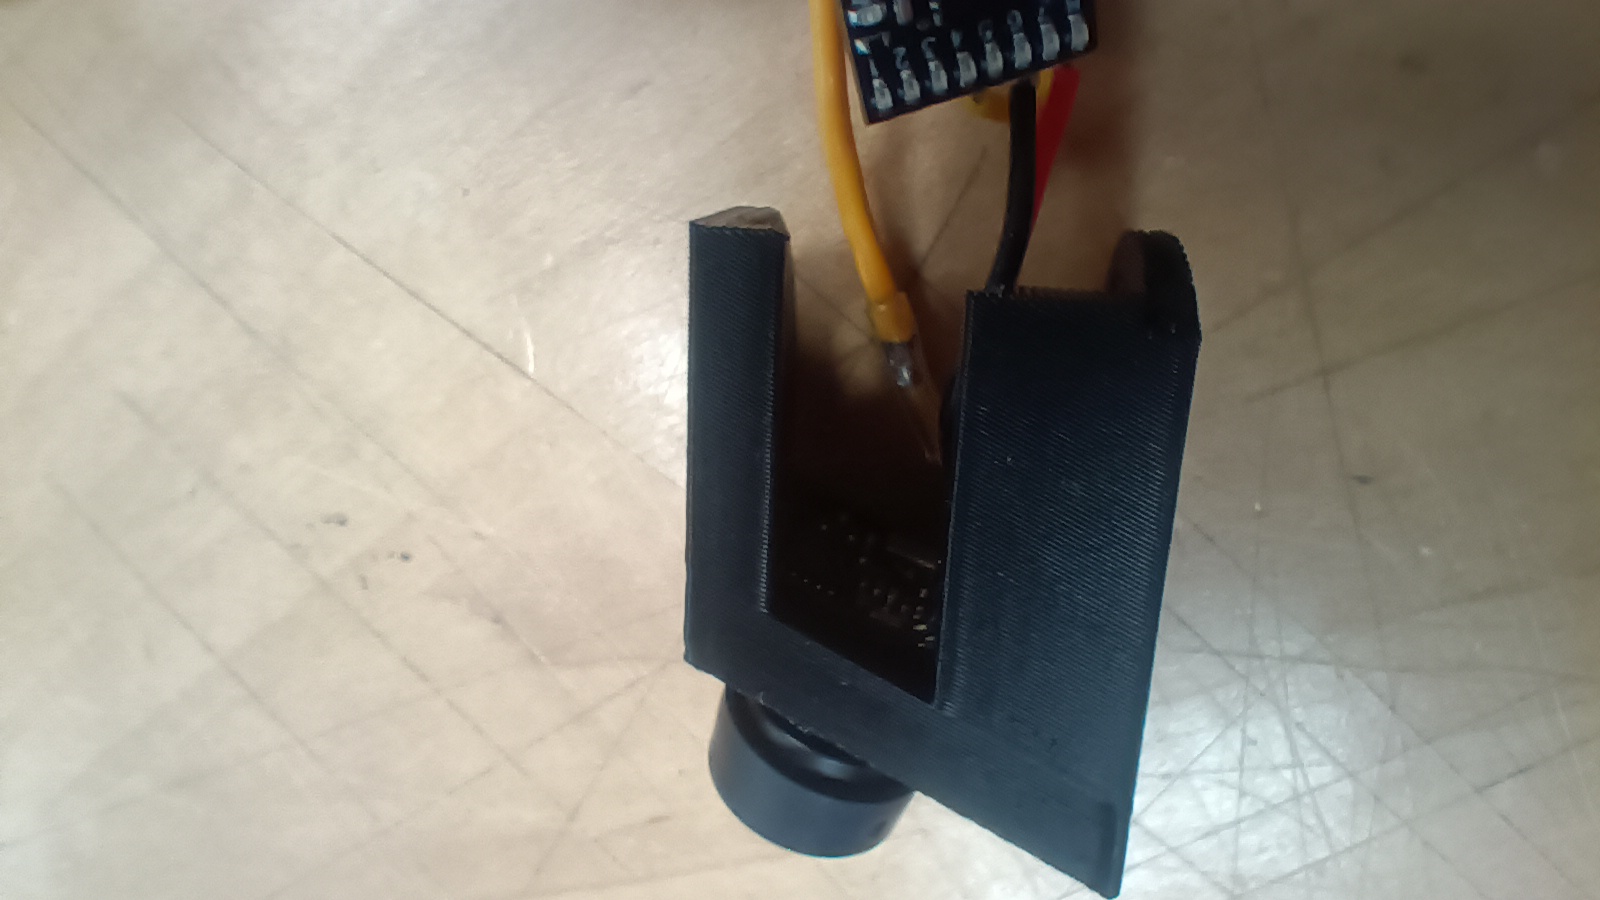
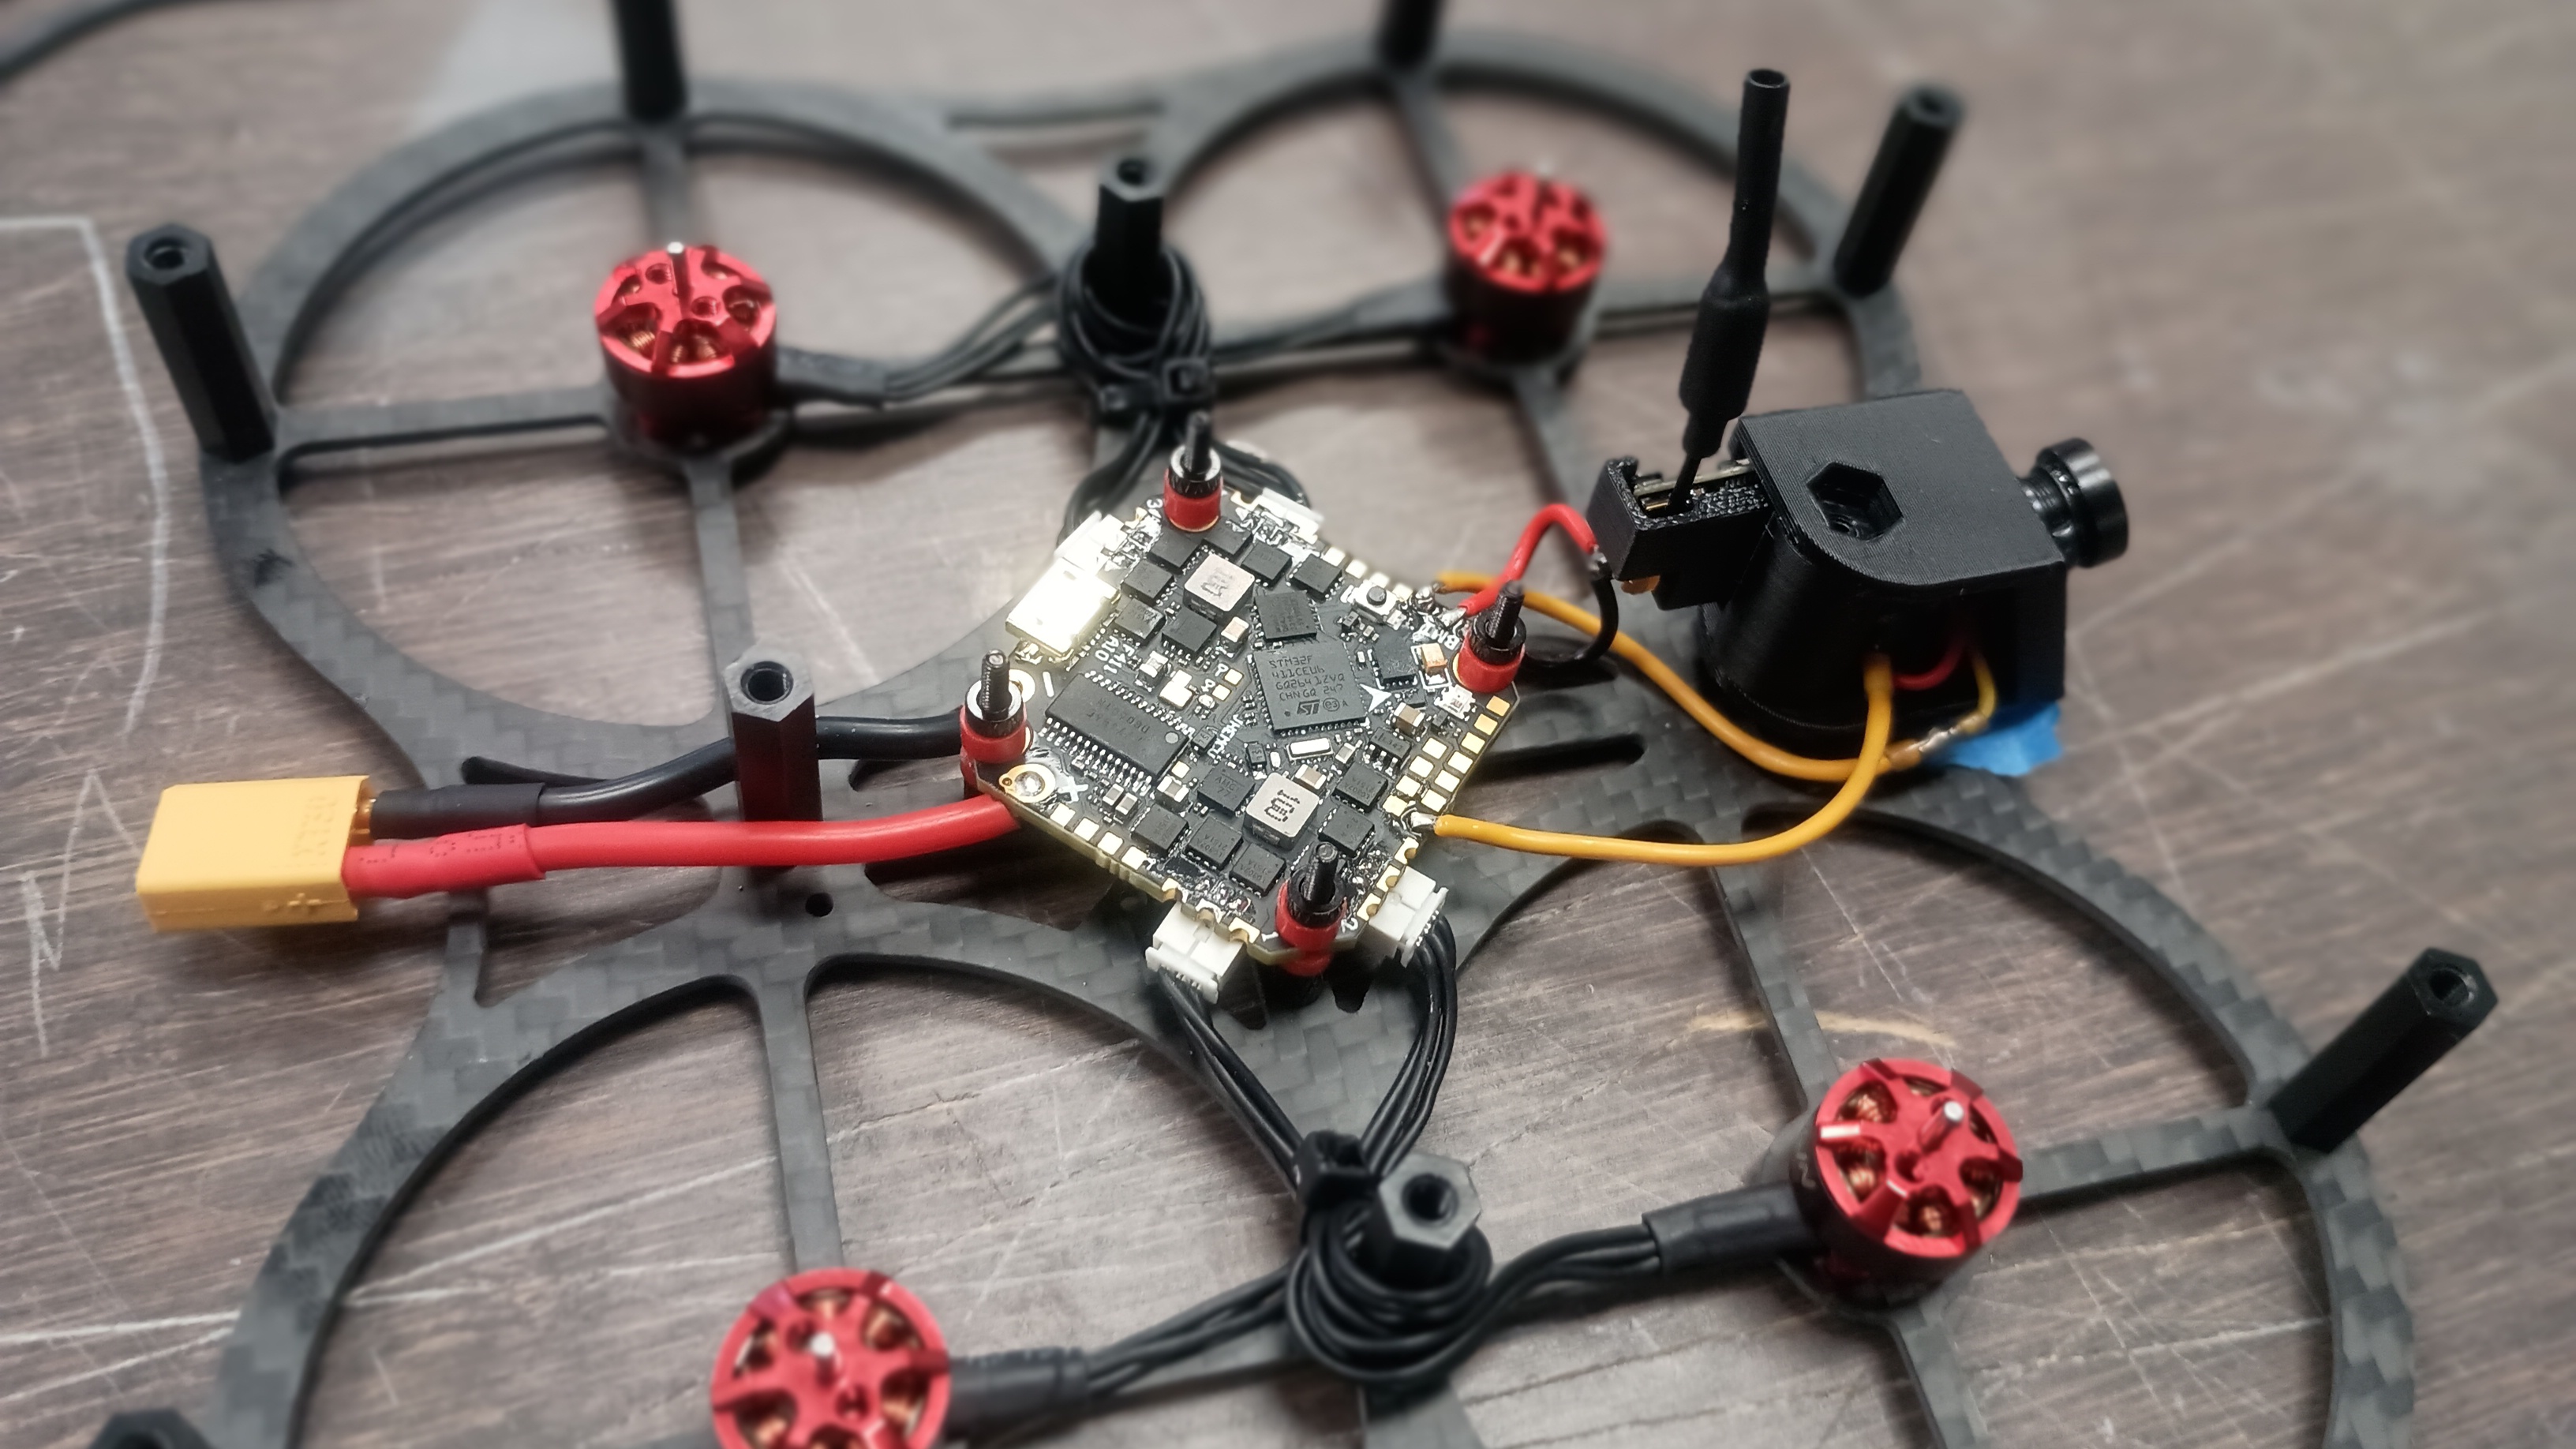
Before anything else, you'll want to trim the power wires (the black and red ones) from the FT AIO FPV Camera much shorter too, to make for easier routing. Just leave enough to reach those solder pads on the board and pre-tin them for soldering. I left mine probably about an inch and a half long, which is really more than enough, but it gives me a little flex for installing the camera mount as well. You can see the solder pads that you'll need to reach and the approximate length of wiring I left in this photo.
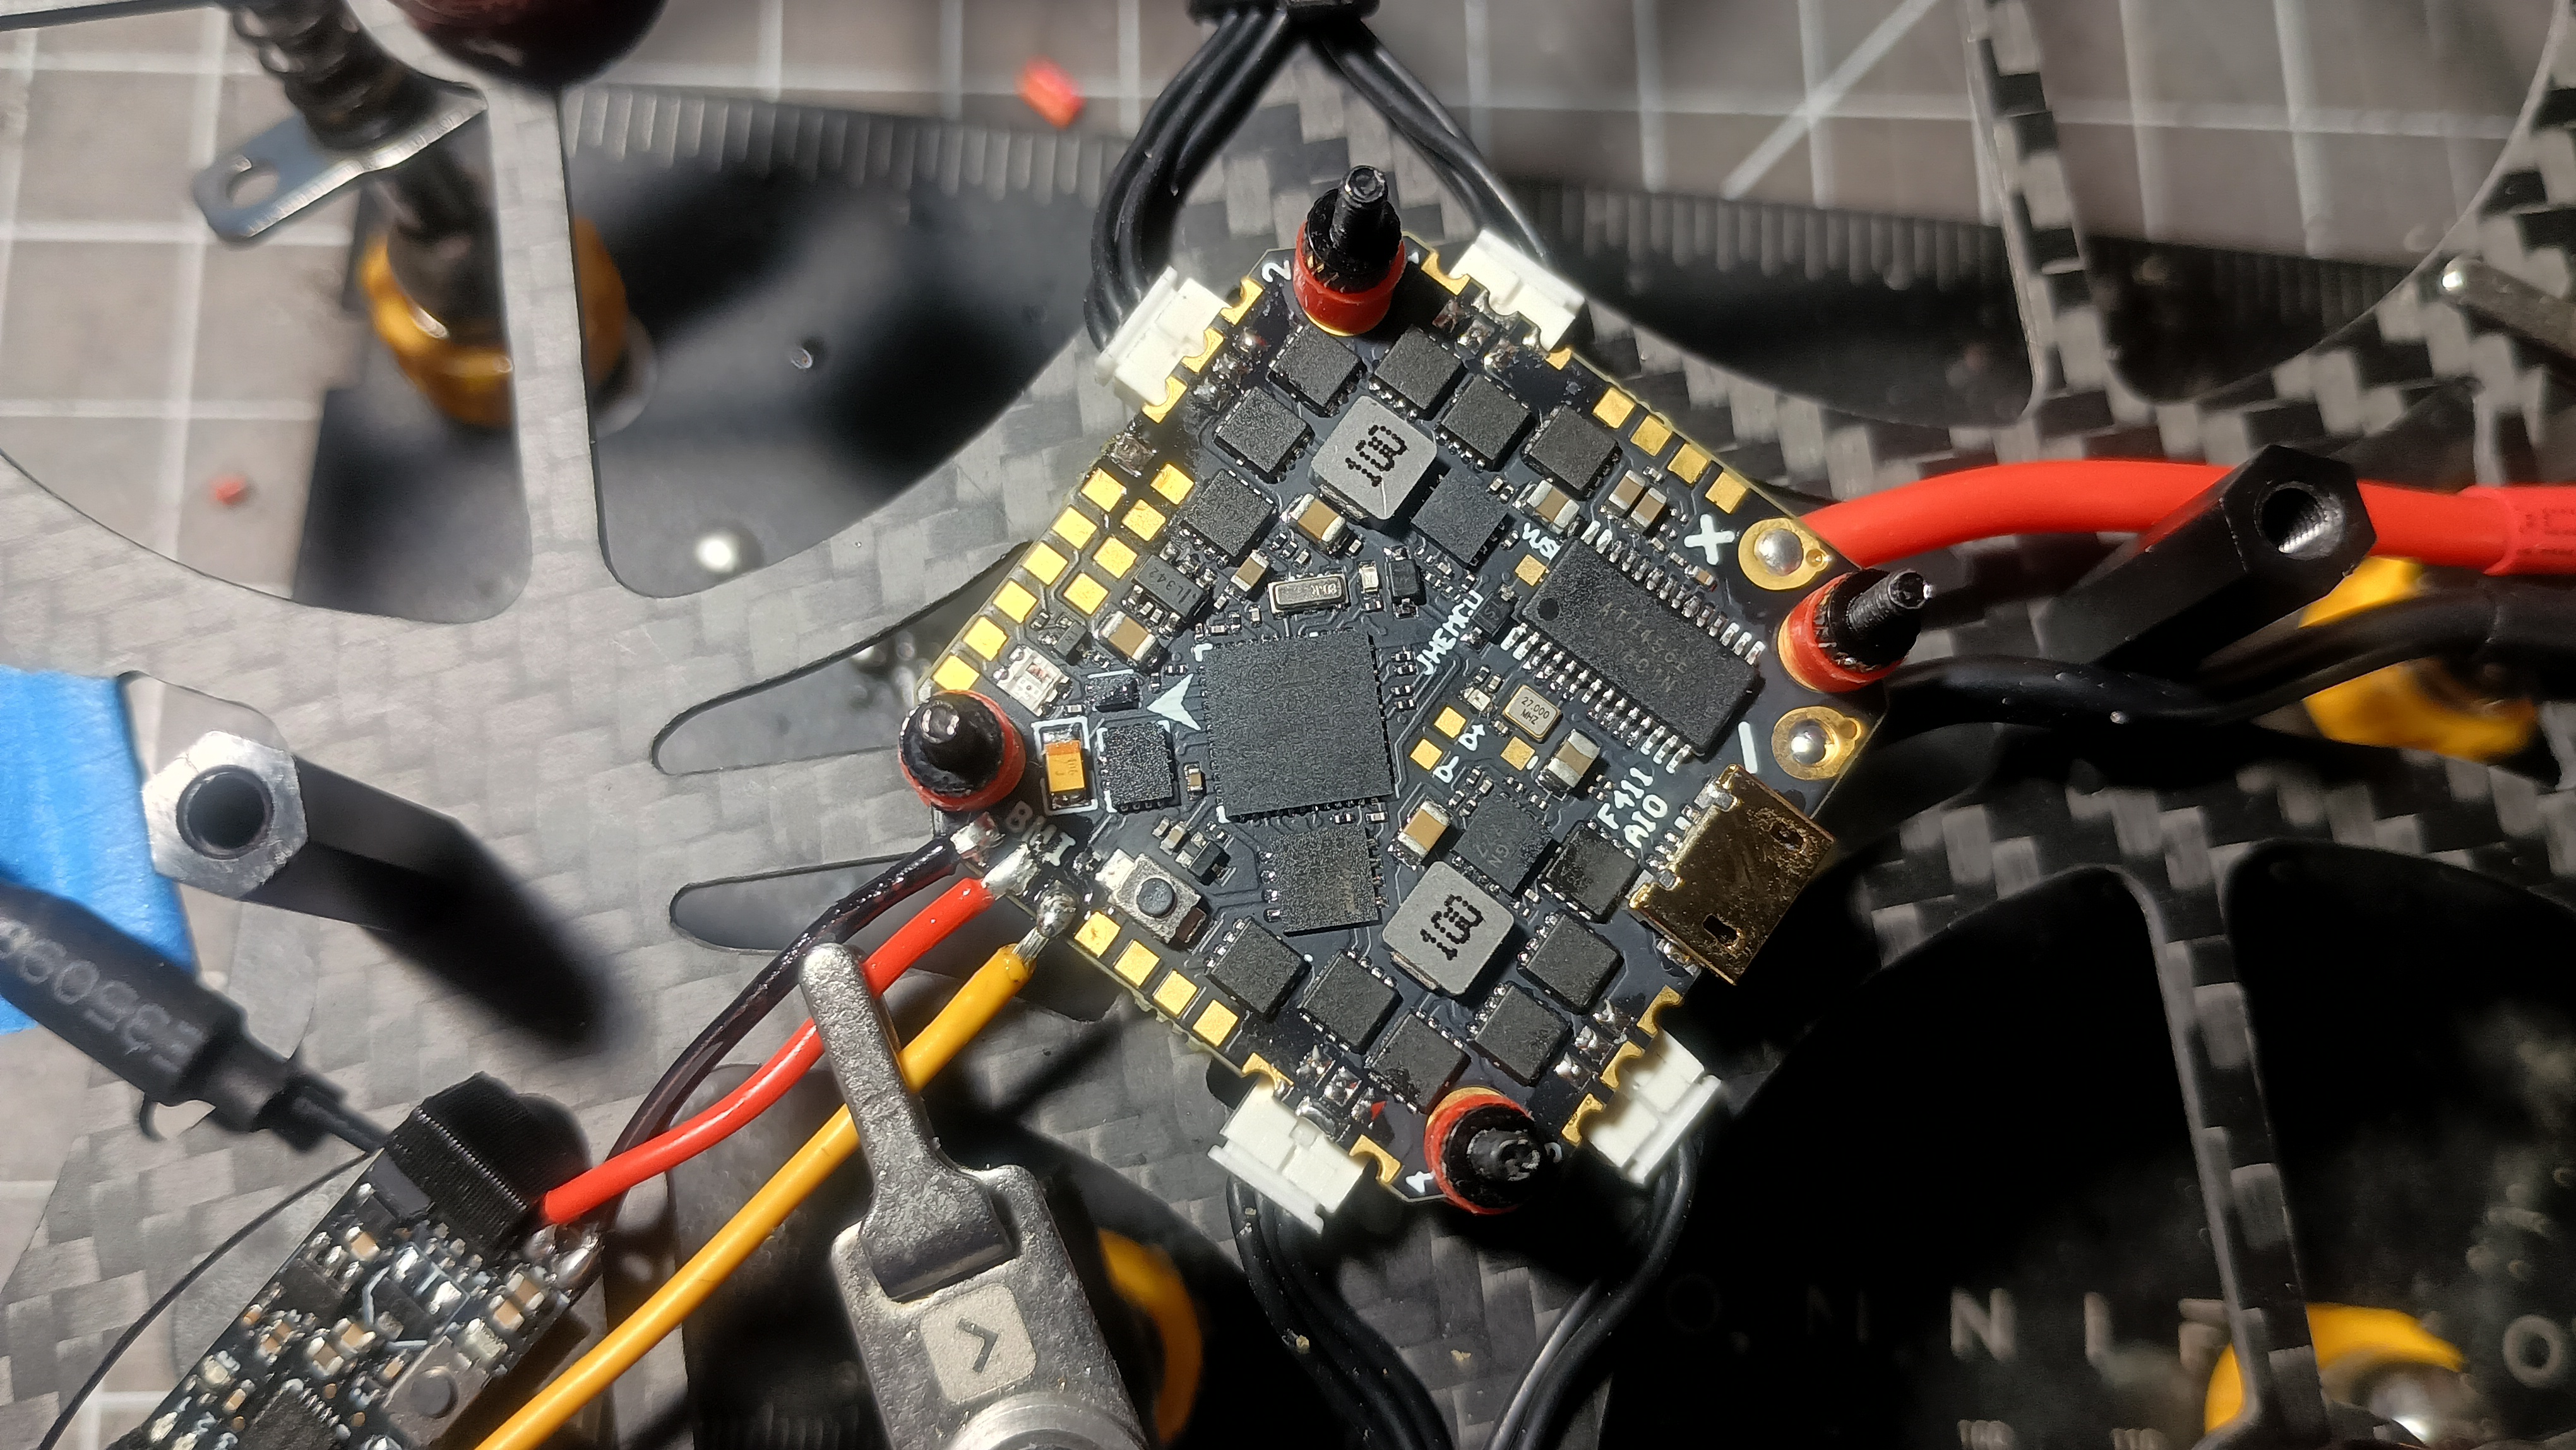
As you can see there, you'll solder the red and black to the appropriate pads as shown on the board. The video wire soldered to the board here is the wire that is connected to the camera (not the VTX). You'll run the other video cable from the VTX to the other solder pad I highlighted in the first photo, as shown in the following photo.
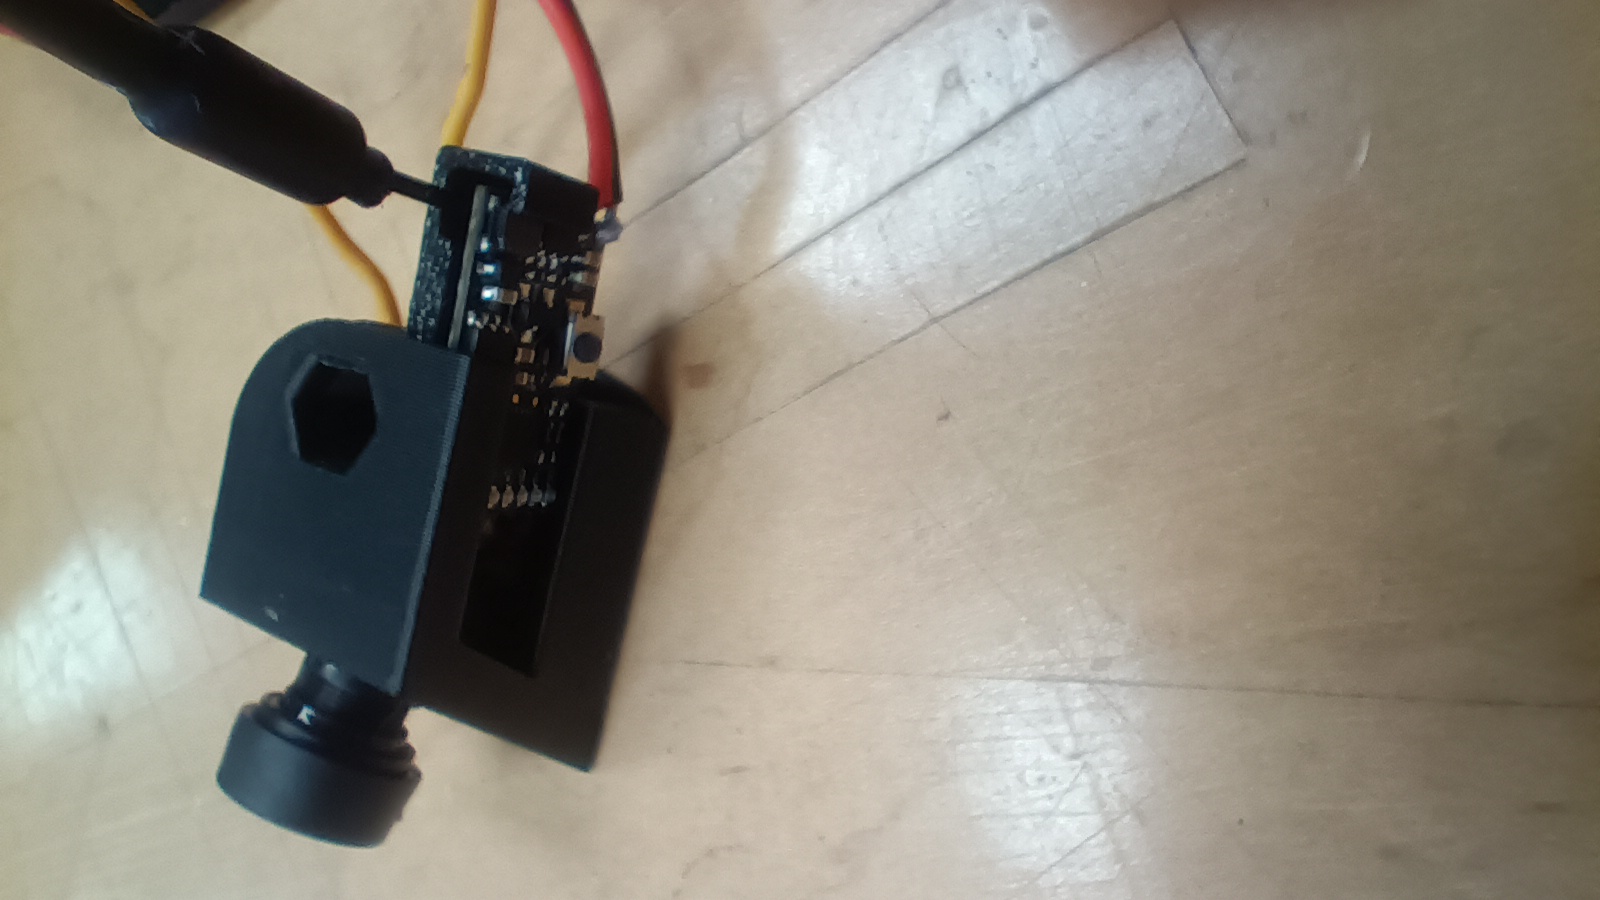
Now that's it. You're done. I suppose I could take a moment to try to explain how the camera mount works though. First, stick the camera into the hole with the wires on the bottom of the board.
Next, slide the VTX into the slot in the second part with the antenna on the inside and pointed up.
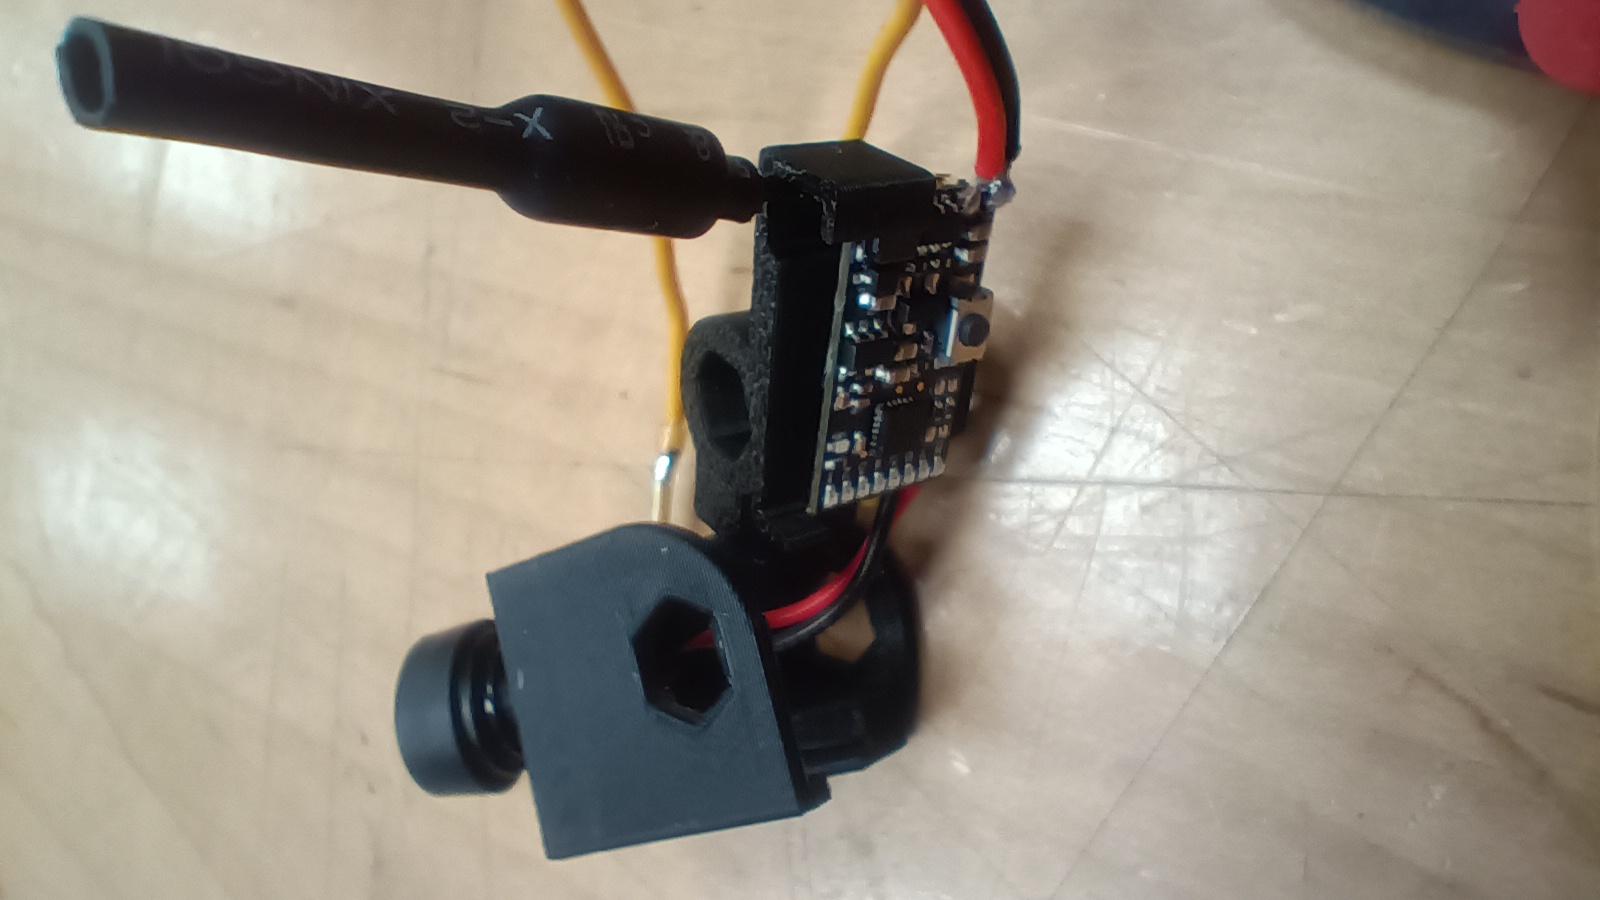
Now slide the one into the other.
Drop that mount onto the front post and you're golden. Check out how nice that looks!
You should still have plenty of room to route your wires, connect your receiver, and put on the top plate. Now you can enjoy the OSD along with the nice camera.
Got any other great tips for the FT Guardian Gremlin v3 or the FT AIO FPV Camera? Tell us about them in the comments or over on the FT Forum!
Thanks!
Dustin


No Comments Yet
Be the first to leave one!