My first dabble into RC was a tricopter built using the awesome FPV manuals Delrin design. I noticed that Tim (the designer) used laser cut parts for his design with delrin and bamboo. One great thing about tricopters is that they're foldable and David Windestål always considers this one of their key advantages.
For my second multirotor, I wanted to build a laser cut quad frame that's simple to build and makes a maximum use of zip ties. I've seen various quad designs that fold the booms of the quad but the challenge I gave myself was to get an experience similar to the tricopter. So I launched inskcape, drew up a small prototype and here is the result!
Folding mechanism
I designed a folding mechanism that rotates the quad booms by approximately 35 degrees. I included a latching mechanism to lock the booms in place once the quad is in flight-mode. This mechanism requires simple 3M screws and nuts to assemble and works very well.
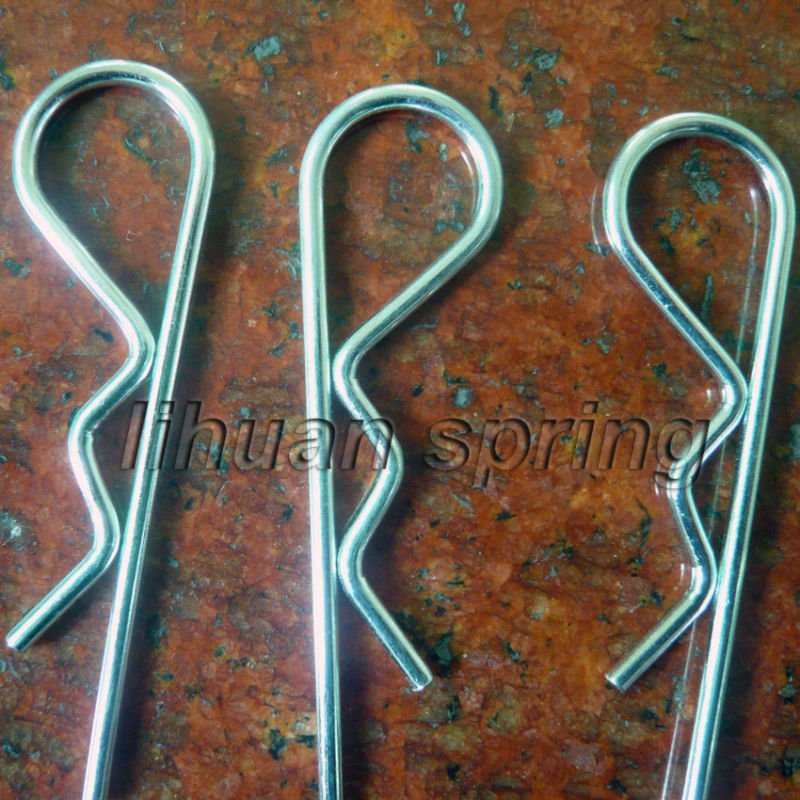
On my tricopter, I used a lynch pin to lock the folding booms. I found that this solution worked very well, so I've included that idea in this design. In flight-mode, holes align to accept a lynch pin to lock everything in place.
 |
 |
Booms, motor mounts and landing gear
The booms have integrated motor mounts that include two design features:
- Generic slots in an X pattern to enable mounting with 2mm screws (feedback welcome).
- Two pairs of zip tie anchors holes to enable simple zip tie mounting (I took this idea from David's tricopter designs).
 |
 |
 |
|
A layered approach
The design is all about practical layering to manage all of the necessary electronics and payload. All layers include holes to feed all the necessary wiring through the structure.

First layer plate
The first layer plate design, found below and above the booms, includes zip tie anchors to mount the ESCs in four directions. This first layer plate also has slots for the velcro straps that will hold the battery. I've designed a gap in one of the corners of this layer plate to provide clearance for the lynch pin when it needs to be inserted.
 |
 |
Second layer plate
The second layer plate is designed to mount the Hobby King v1.x controller board in Xcopter mode (it seemed like the best choice since X configuration has won over +). This plate can be used above and below also to mount/protect other electronics or to mount a gopro camera.

All of the layers of my design are adapated to work with the popular 3M nylon spacers.
I wanted to give the assembler as much flexibility as possible when assembling the quad. They have the freedom to layer up or layer down, whatever the quad application requires.
My design allows for a variety of layer plate designs (additional layers above or below) that enable GoPro/FPV or other payloads that I didn't think of.
Etched-on instructions
There is a growing trend in RC to etch on the instructions and assembly aids on the RC parts. I've labled all of the screws, legs and motor mounts to provide the assembler with my design intent and help with final assembly and orientation of the layers of the frame.

This first version of my design was a really easy build (if there is more interest I can write up a build log). All of the features I've introduced into this quad met or exceeded my expectations and when the snow clears I can't want to take it out for a maiden in some tall grass!


Log In to reply
If there is interest I can also make this into a kit for people.
Log In to reply
Log In to reply
This is why I'd rather provide kits (if there is sufficient interest) so I can order in bulk from Ponoko to reduce the cost of each frame significantly.
Log In to reply
Log In to reply
Log In to reply
Log In to reply
Log In to reply
Log In to reply
check it out!
Log In to reply
Log In to reply
Log In to reply