I thought I would document the build and first flight of my quadcopter which ended in all four propellers exploding at about 1/16th throttle.
I have been into radio controlled vehicles for about 10 years now and somehow stayed completely uninterested in aeronautical vehicles until this spring. My attention turned from a failed “FloodBot” (created for the record breaking floods we were supposed to see but never did) and I decided to try my hand at a multirotor.
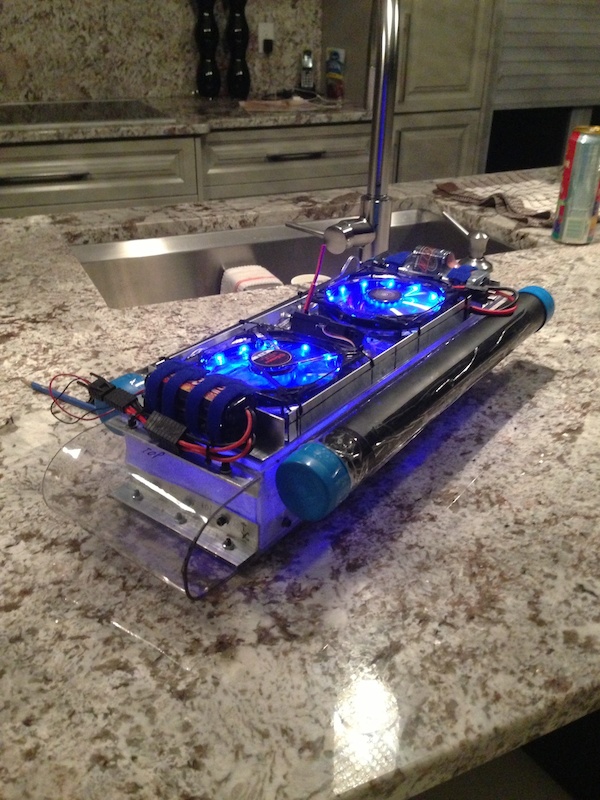
The frame for the Heavy Copter was built from aluminum square tube from Home Depot which I drilled out and 2 pieces of 1/8th inch oak and putting it all together with black socket head bolts and plastic washers. What I ended up with was a durable, simple and fairly light frame (I thought it looked great too I might add). The dimensions are the same as the Flitetest H-copter but I wanted it to look a little nicer with a little wider platform.
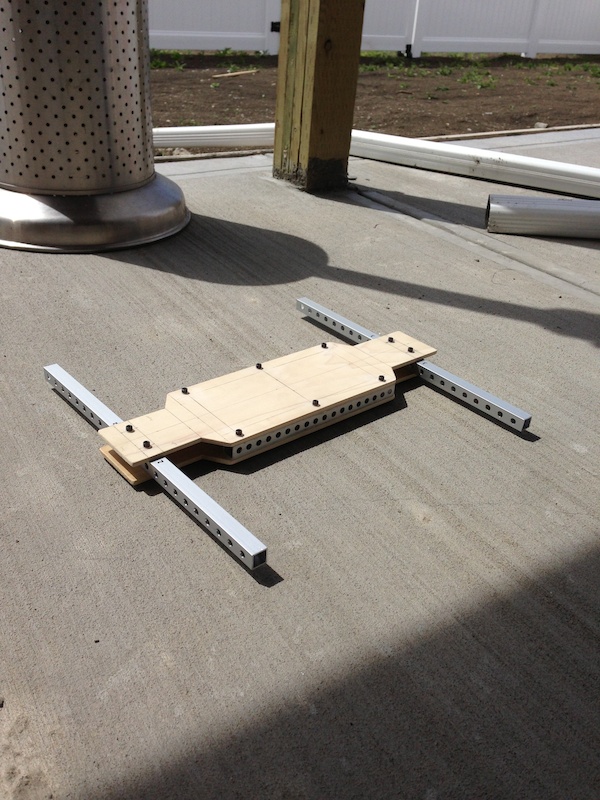
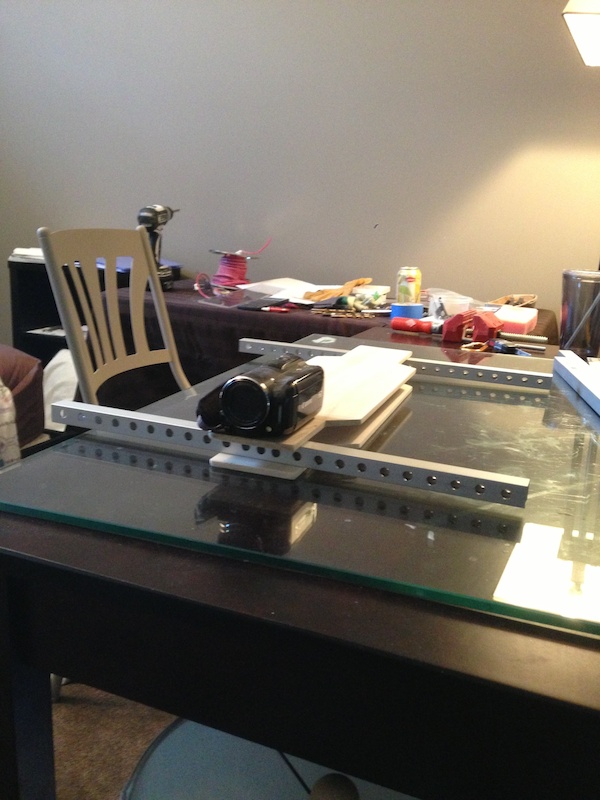
The ultimate end game for this project was to use it to film with a Canon Vixia. Before I went any further with this idea I made the decision to learn how to fly first before I take up a $500.00 camera and promptly smash it into a hundred pieces. However the H-copter frame layout was designed to hold this camera for the future.
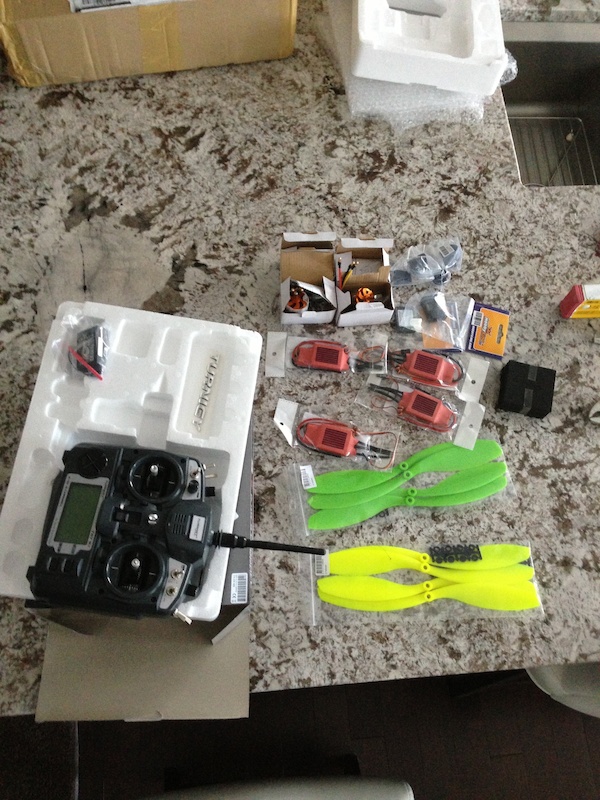
Next up was to start gathering eletronics. While cruising HobbyKing for parts I had the general idea that this was not going to be a light and nimble Quad so I started scooping up items which I was hoping would get this off the ground
Turnigy 3548/6 motors
Red Brick 70amp ESCs
12x4.5 props
HK v3.0 Control Board
Turnigy 9x tx/rx
I should probably mention that at this point I had no idea if any of these parts were any good for multi rotors or if I would even be able to lift the frame off the ground. I did my research the best I could but ultimately wanted to build up something that wasn’t a carbon copy of someone else’s project. I am no stranger to failure or frustration so I soldiered on.
I kept the control board in the foam “wrapper” and cut a relief in the top wooden plate so it would fit nicely inside of the frame. I also used acrylic plates which will hold the batteries (and soon the camera as well). The plastic spacers shown in the picture were going to be there for board protection but I decided against them as I got further into the project.
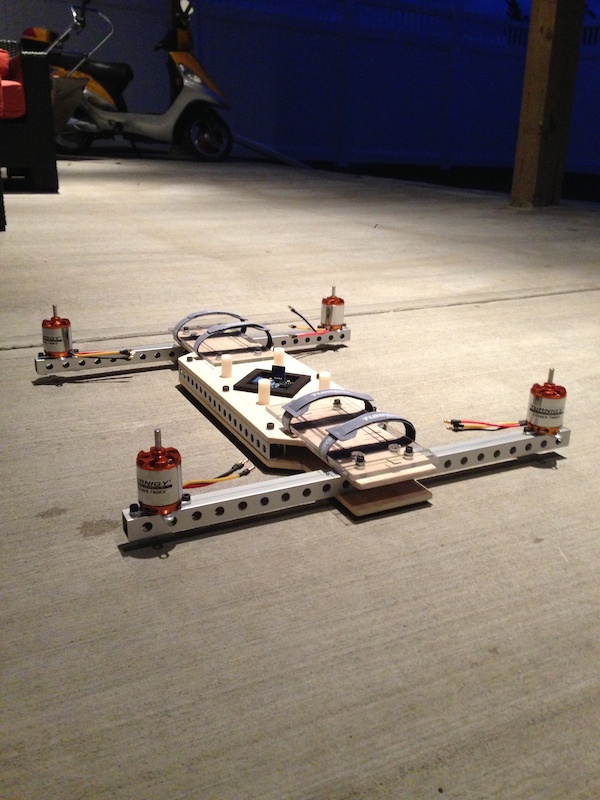
At this point I am thinking it looks pretty great, growing increasingly worried about the final weight of this thing but I do my best to block it out and venture deeper into the project.
For batteries I ended up with two, 2S 5000mah hard case lipos. I bought them at the local hobby shop thinking they were soft case, this only increased my worries about the weight but I didn’t want to return them so deeper I went. I used Turnigy battery straps and some industrial strength Velcro to keep them from “exiting” the craft during flight. I also am using low voltage detectors which are stuck on with double sided tape (they are loud!).
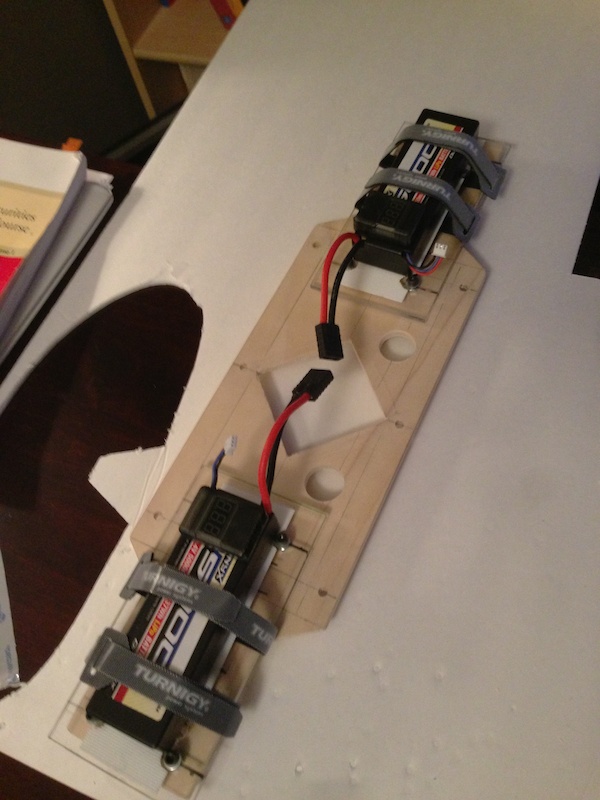
For power distribution I wired two sets of two ESCs together to a Traxxas connector, the two connectors then go into a parallel connector which then goes into a series connector which then goes into the batteries. There is probably an easier and less convoluted way to do this but it makes for easy disassembly and it works.
The 70 amp Red Bricks were much larger and heavier than I was expecting however they fit so even deeper I went!
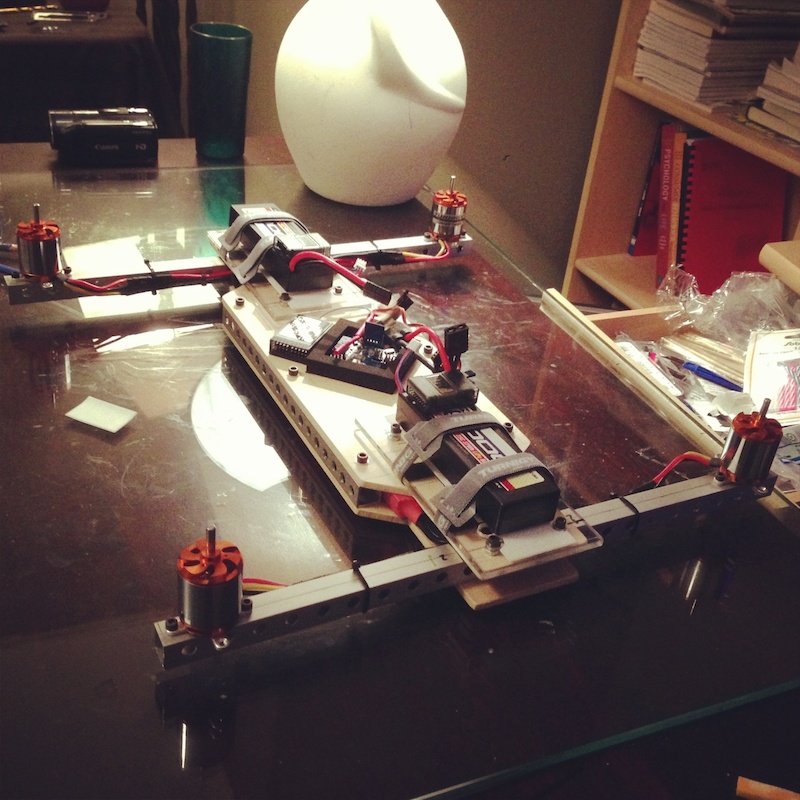
All that was left to do was re-flash the board with X-Copter firmware and off I went. I should also mention I recently purchased the usbasp AVR programmer from HobbyKing and it did not work at all and now I see they have removed it from their site so I am assuming they were defective. I managed to get my hands on a USBtinyASP (or something) and it worked perfectly and in my opinion is highly superior to the Turnigy AVR programmer (due solely on the fact that it actually worked!).
Anyway, programming (listening to thousands of beeps) and calibrating the ESCs went well, pre-flight checks went well and the Heavy Copter was officially finished!
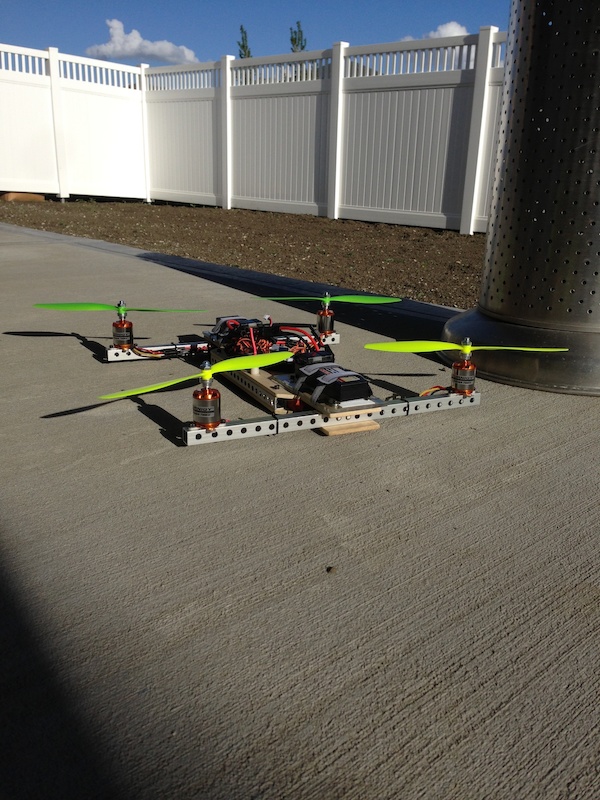
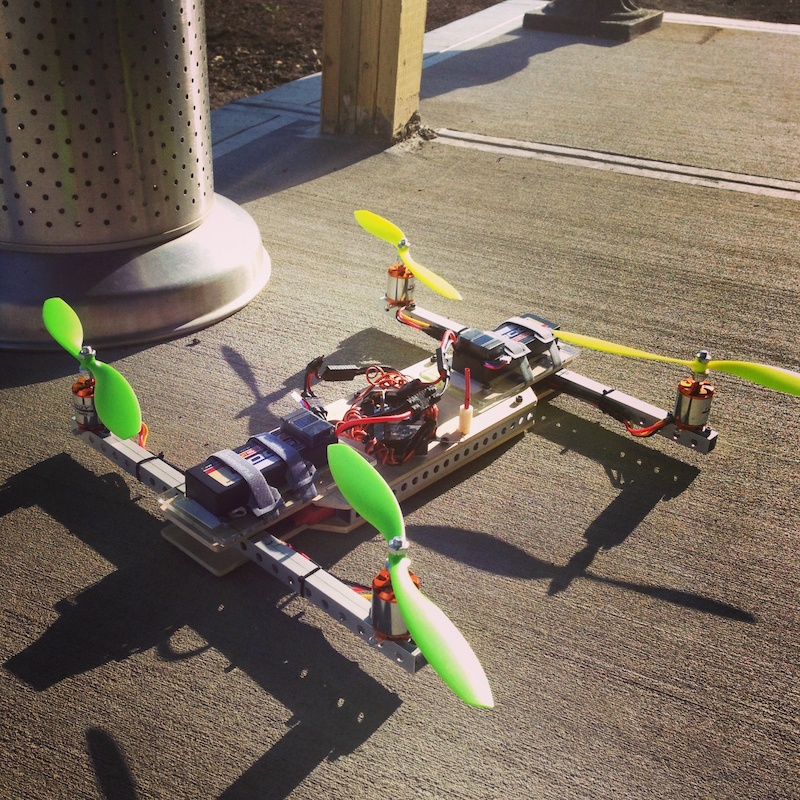
So at this point I had no scale or a way to weigh it and had no idea how much thrust this thing was generating, so the only way to find out if it was going to fly was simply to go and fly it.
So I take it out to an empty, large field beside my house and I am standing there ready to fly this thing. I am anxious and I am a little scared. At the end of the day probably have close to $500 dollars into and countless hours.
I slowly start giving it throttle, I am up to about 1/8th throttle, anticipating the moment when it starts to leave the ground and....my props explode and go flying across the dirt.
They broke right at the base and they had all split in two. I am almost positive I tightened down the props way too much and cracked the base of the prop. I also didn’t have them on the collet properly (instead of sandwiching them between the two metal pieces, I had them on top of both metal pieces with the nut directly on top of the prop.
So the first flight ended in failure, but I have extra props and will hopefully be back with a success story and with some video.


one little bit of advice!!! get rid of those props. I learnt the hard way. They will brake and then you will drop like a rock....(not if but when)..(twice for me)
Log In to reply
Log In to reply
But first. I used these plastic props for a while but under pressure they let go. I was using 10x4.7 so the 12x4.7 would give even more lift. I measured nearly 15 amps (per motor full throttle) and it flew pretty well. so i bought some carbon fiber props from rctimer. Not slow fly, they drew less than 10amps, not enough lift, trying to fly a quad on full throttle is scary. It would hover at 60% but up in the high in the air it would start slowly spinning. so im waiting for my 12x5 carbon props to arrive. My motors were 800 kv running 4 s also.
good luck...
Log In to reply
it is fully built but i still have to take it out and try flying but due to being disabled i will have to find a field that i can drive straight to as walking is not that easy for me, I also i want to put a camera on it but for FPV good luck with the flying.
Log In to reply