
About the Project
I have this awesome scratch built drone featuring a full carbon fibre frame and a 3-axis gimbal, so I'm ready to starting heading into the wildness to start making awesome nature documentaries... Not so fast, logistics become a real pain when you're trying to take such a precise machine to exotic locations. You'll have to tailor the logistics depending on the location. Think about access to grid electricity and what kinds of roads are required to get to your shooting location. This article covers some of the transportation logistics of my system.
Vehicle Selection
Now a real hardcore aerial videography will own a ruggedized flatbed truck with 4WD and high ground clearance, unfortunately, I am dumb enough to have two hobbies and got myself a sleek 4WD sport sedan with low ground clearance:

With 4WD, even offroad, its got plenty of traction. Its not lowered, but the factory ground clearance was obviously made for the road. Combined with Subaru's tendency to have the nose hanging far in front of the wheel, on my last road trip, I couldn't make it past this shallow ditch (but isn't that a cool shot?):

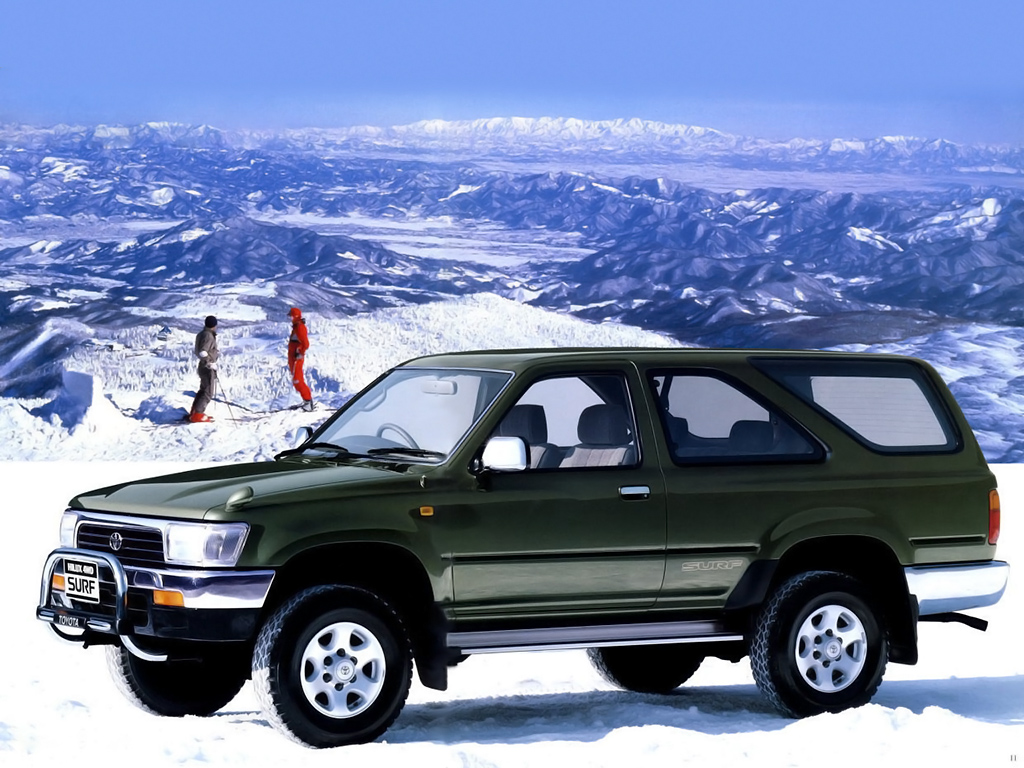
Subaru Outbacks have a higher ground clearance, but if you're dedicated videographer, I can't recommend it. Its got the aforementioned issue of the nose hanging far in front of the wheels and the lack of a proper multispeed transfer case makes offroading hard (Subaru diffs are made for mild offroading at best). For the same amount of money, go for an older Toyota Hilux:
And because you're offroading, it should be a manual.
The Box
Since I was being a cheapo, I used 16mm thick laminated MDF boards I salvaged from various kitchen projects. Its an awful material, its grain structure makes it weak except in one direction. Using 12mm thick plywood will much the case much lighter. I used 4mm thick MDF for the base and the lid to reduce weight. The MDF was stained and varnished for moisture protection (this is extremely important).
I added wheels so the case can be dragged, this is a godsend. I happened to have these wheels leftover, because they are not cheap. Already you can see, just modify a travel case instead.
I added custom foam cutouts for the drone, batteries and gimbal. A hot wire cutter should quick work of this. I used styrofoam because it was the only foam I had. It is not durable enough for film work however. Make sure NOTHING is free moving inside the case. Things like screws should be stored inside margarine containers which are double sided taped to the box somewhere. Other things need to be strapped down using a velcro strap.

The gimbal holder didn't work very well. It was two layers of styrofoam stuck together, one of the layers had the cutout of the gimbal at one particular state. A velcro strap has used to prevent it from coming out.
The foam stuck to the lid prevents the objects from falling out. Here is a video showing the first full use of the box:
And here is the roadtrip in which I used it:
Future
I will be scrapping this box and making one that doesn't need to have the quadcopter's landing gear folded up to fit it. The constant reassembly, even if its just 4 bolts is a recipe for breaking things. It didn't completely solve the problem of my constantly forgetting bring tools and components. My charger wouldn't fit in the box, and I forgot to bring the main's cable for my charger (luckily my friend bought his for the trip). The future box will have an integrated charger, with connectors on the outside of the box for charging batteries.


COMMENTS
You need to log-in to comment on articles.